Tuesday, August 30, 2011

Moon Pies


I have never really had moon pies before, but I remember I used to see them being sold in individual packets at the supermarket when I was a kid. I did, however, eat my fair share of mallow-mars. Those were my fave. As I got older, I learned that moon pies were somewhat similar to mallow mars, with the marshmallow filling in between the layer of cookies in the moon pies. Unfortunately, they don't sell moon pies in our area anymore, so I'm left with the regret of not having tasted them. And then I found this recipe, from, once again, the Brown Eyed Baker.

As with any sandwich cookies, these were a multi-step process. Making the cookies, cooling the cookies, making the filling, making the coating, and assembling. But these were so worth the task. I can't believe I've never tried a moon pie before. These were so delicious and I absolutely love the creamy marshmallow filling in the middle. You can bet I'll be making these again.

Cookies
1 stick unsalted butter, at room temperature
3/4 cup light brown sugar
1 egg
1 tsp. vanilla extract
2 1/4 cups all purpose flour
1/2 tsp. salt

1) With the mixer on medium speed, beat the butter until creamy, about 3 minutes. Add brown sugar and beat on medium-high until light and fluffy, about 3 minutes. Reduce speed to medium and add egg and vanilla extract and beat to combine. Reduce speed to low and slowly add flour and salt. Continue mixing just until a soft dough forms. Divide dough into two, shape into disks, wrap in plastic wrap and refrigerate for at least 30 minutes.

2) Preheat oven to 350 deg F. Line 2 baking sheets with parchment paper and set aside. Working with one disk at a time, roll out dough to about 1/8-inch thickness. Cut out the rounds and place on prepared baking sheets about 1/2-inch apart. Refrigerate cookies on the cookie sheet for about 10 minutes.

3) After chilling the cookies, bake for 10-12 minutes, or until lightly browned. Cool on the pans for a few minutes, and then transfer on a cooling rack to cool completely before assembling.

Marshmallow filling
2 egg whites
pinch of cream of tartar
pinch of salt
2/3 cup light corn syrup
2 tsp. vanilla extract
1 cup confectioner's sugar, sifted

1) Using a mixer with a whisk attachment, beat egg whites, cream of tartar and salt on medium low speed for about 2 minutes. As the egg whites increase in volume, increase speed to medium high speed and continue beating until firm, stiff peaks form.

2) Meanwhile, in a small saucepan, boil corn syrup over high heat without stirring until temperature reaches 230-235 deg F. Slowly drizzle hot syrup over egg whites and beat at high speed until glossy, about 2 minutes. Reduce speed to medium-low and add vanilla extract and confectioner's sugar.

3) Using a piping bag or spoon, mound about 1 1/2 tablespoonful of the filling into the center of a cookie. Top with another cookie and press lightly to spread filling to the edges. Add another mound of filling on top of the second cookie and top with another cookie, again pressing lightly to spread filling to the edges. Repeat with the rest of the cookies.

Chocolate coating
12 ounces semi-sweet chocolate
1/4 cup vegetable oil

1) Using a double boiler or microwave (on 30 second increments), melt chocolate and vegetable oil together until completely smooth. Place assembled cookies on a wire rack set over wax paper or rimmed baking sheet. Spoon melted chocolate over each cookie so that it runs down the sides and covers most of the cookie. Allow the chocolate to set at room temperature for about 2 hours, or refrigerate to speed up the process. Store in an airtight container at room temperature.

Monday, August 29, 2011

Homemade Cracker Jack


I didn't eat much of the childhood favorite, Cracker Jacks. I don't know why, but I just wasn't in to the boxed popcorn stuff. Even the prize you get from the Cracker Jacks box didn't appeal to me. It took me a while to even start liking the popcorn you buy that came in those large tin containers. You know, the ones they normally sell during the holidays. To me, they were just plain stale. I like freshly made popcorn. Whether it be fresh buttered popcorn or freshly made caramel corn. They have to be fresh.

My daughter has been asking me to make some popcorn snacks recently and so I decided to give this recipe a try from the Brown Eyed Baker. I've never made caramel corn before. And it was quite easy and yummy.

10 cups freshly popped plain popcorn
1 cup light brown sugar, lightly packed
1/4 cup light corn syrup
6 Tbsp. unsalted butter, melted
2 Tbsp. water
1/4 tsp. salt
2 tsp. vanilla extract
1/2 tsp. baking soda
1 cup lightly salted peanuts

1) Preheat oven to 250 deg F. Line a rimmed baking sheet with parchment paper and set aside.

2) Coat a large bowl with non-stick cooking spray and pour popcorn in the bowl.

3) In a small saucepan, whisk together brown sugar, corn syrup, melted butter, water and salt. Bring to a simmer over medium-high heat. Continue to simmer, stirring often, until mixture reaches 250 deg F, about 3-5 minutes.

4) Remove caramel from heat. Whisk in vanilla extract and baking soda. Immediately pour caramel onto popcorn. Add peanuts. Gently fold mixture using a rubber spatula until everything is coated with the caramel. Transfer mixture onto prepared baking sheet and spread out. Bake for 1 hour, stirring the mixture every 20 minutes.

5) Cool popcorn on a wire rack for 20 minutes. Gently break up the popcorn. Serve immediately or store in an airtight container for up to 5 days.

Sunday, August 28, 2011

San Francisco is not just about Clam Chowder anymore

My family and I always take the long drive up north to the Bay Area at least once a year to escape the heat here in SoCal and visit one of my cousins. Its a good thing we went up there this weekend, because I was hearing that temperatures reached well over 105 degrees, while temperatures in the Bay Area was in the upper 60's. Nice.

Anyway, every year we always head to the same attraction. Pier 39. For the clam chowder and Trisha's mini donuts, which my brother cannot live without while in San Francisco. Don't get me wrong. I love clam chowder and mini donuts as much as the next gal. But I wanted to do something different this time. I wanted to make this more of a foodie trip. So I did some research and found out about The Ferry Building Marketplace.

The Ferry Building serves as a terminal for ferries that travel across the San Francisco Bay.


It also has a marketplace inside its corridors, which I was really excited about. The marketplace houses numerous specialty food shops and outside of the marketplace is a farmer's market every Tuesday, Thursday and Saturday. However, I'm not here for the farmer's market, but what's inside the marketplace.


We entered the marketplace at the center of the corridor and the first thing we encountered was Miette. And you know me and my sweet tooth.


I took home some of these goody French Macarons, along with some homemade marshmallows and meringue cookies that my daughter requested.


The one thing I was most excited about was Chris Cosantino's Boccalone.


They're known for their dried and cured meats like salami.

I wanted to try out a sandwich and so we ordered their Muffaleta, which had a few cuts of cured meat and olive tapenade all wrapped in a french baguette. It was delicious.


As we proceeded further into the corridor, we came across a side vendor selling the Italian donuts called Bomboloni. There were plain bombolonis, and there were bombolonis filled with different flavored custards such as vanilla, peach, chocolate, and pistachio. My favorite was the plain vanilla custard. The dough had a hint of orange.


There were other specialty shops for cheese, wine, olive oil, organic beef in the marketplace. And then I came across a mushroom stand, where you can purchase this mushroom tree to grow at home.


I wish we had more time to explore the Ferry Building. We only allotted a couple of hours for this stop because we still had to make time for Pier 39 and Trisha's mini donuts. However after Pier 39, we decided to do a quick stop at Haight & Ashbury. The corner of Haight and Ashbury and its surrounding neighborhood is noted for its role as the center of the 1960's hippie movement and the Summer of Love of 1967.


Its not really a foodie stop, but hubby and I wanted to roam the streets where the likes of Janis Joplin, the Grateful Dead, and Jimi Hendrix once lived.


We even found the house where the Grateful Dead once lived.


We also came across some performing hippies, which you'll see a lot of around the neighborhood. Performers trying to make a living, hoping to get discovered by some record executive.


I would say that this particular trip to the Bay area was quite interesting. It was more full of history and food rather than a trip to a lot of the tourist traps. I wish we spent more time in these areas but we only had a day to explore the wonders of San Francisco. Until next year, San Francisco.

Tuesday, August 23, 2011

Prawns in Coconut Milk & Crab Fat (Sugpo sa Aligue at Gata)


I stumbled across 80 Breakfasts from Delish. I came to learn that this blog was not really all about breakfast, but also featured Filipino dishes. I've been trying to get back to my roots in trying to cook more Filipino foods, so I really scored when I discovered this new blog.

As I skimmed through the recipes, I found this one that somehow looked familiar. Not something my Lola would make, but more in the realms of what my dad's side of the family would make. I remember my aunts serving crab fat as a side dish when we ate fresh seafood. Or using coconut milk on any dish to make it more rich. Both of which made the food sooooo delicious, but fattening at the same time. With that said, caution must taken when eating this dish as it contains both coconut milk and crab fat. I'm fortunate enough to have several local Filipino stores in the area that sells crab fat. Otherwise I don't know where else I would be able to buy it.

This dish was oh so delicious. It takes me back to the times when all of my dad's side of the family would visit our aunt's for a holiday or a vacation and they would cook all these wonderful foods for our huge family. Its a comforting feeling. However, I decided to have only one serving of this dish. The rest is going to my parents' place for them to try it out. Too much of a good thing can be bad.

2 lbs. fresh shrimp, unpeeled and head on
4 Tbsp. oil
1 Tbsp. garlic, minced
1 Tbsp. fresh ginger, minced
1 medium onion, chopped
1/2 tsp. red chili flakes (more if you like it spicier)
1 cup crab fat (aligue)
1 cup coconut milk (gata)
1-2 Tbsp. fish sauce (according to taste)
juice of half a lemon or 1 whole lime

1) In a large skillet, heat oil over medium high heat. Add garlic, ginger and onion. Saute until onions have softened.

2) Add chili flakes and crab fat. Cook, stirring often until the crab fat softens and the oil separates. Stir in coconut milk and continue to cook until well blended. Add lemon/lime juice.

3) Add shrimp into the pan and stir to coat. Adjust seasoning by adding more fish sauce and/or lemon/lime juice to balance the sour and saltiness of the sauce. Simmer for 5 minutes or until shrimps have all turned pink. Remove from heat and serve with steamed white rice.

Monday, August 22, 2011

Chocolate Sandwich Cookies (Homemade Oreo Cookies)


I rarely buy store-bought cookies any more. When I buy cookies at the supermarket its either those marshmallow cookies dipped in chocolate, or wafer cookies, or Oreos, or some other cookie that you can't really make at home. Oreos, however, are one of those cookies that I have to be in the mood for. But once I'm in the mood for them, watch out. Because if you want some of the Oreo cookies I bought, you better get to them before I do because I'll scarf them down. Fast. Especially if they're the Double-Stuffed Oreos. Especially if they're the Double-Stuffed Mint Oreos. Oh yeah. I often have to pace myself, especially when hubby and I are dieting, because I lose track of how much I eat in a day. Then when hubby reaches in our pantry to find only a few cookies left, I'm in trouble. Where'd all the Oreos go? Maybe the cookie monster ate them. Yeah, cookie monster me.

Then I came across a few recipes for homemade Oreo cookies. Hmmmm, maybe if I make them from scratch, they'll definitely be healthier and easier to eat. So I settled on this recipe from the Brown Eyed Baker. My cookies didn't turn as dark as the actual Oreos themselves. But I think its because I used regular cocoa powder instead of the Dutch-processed cocoa powder that the recipe called for. Honestly, I didn't really know what the difference was to begin with. But now I figured it made a difference in color and taste. These cookies tasted more like a chocolate cake or a chocolate whoopie pie than the cookie we're used to. Which is why I call these Chocolate Sandwich cookies instead. They were still yummy, nonetheless. I loved the filling in this recipe. I'm definitely going to make these again, and next time, probably with dutch-processed cocoa.

Cookie
2 cups all-purpose flour
1/2 cup cocoa powder (its best to use dutch-processed cocoa)
1/2 tsp. baking powder
1/2 tsp. salt
2 sticks unsalted butter, softened
1 large egg yolk
1 tsp. vanilla extract

1) Whisk together flour, cocoa powder, baking powder and salt. Set aside.

2) Beat butter and sugar with an electric mixer until pale and fluffy. Add egg yolk and vanilla extract. With the mixer on low, add flour mixture in 3 batches, just until dough forms. Divide dough in half. Form each half into a 6-inch square and wrap with a plastic wrap. Chill for 2-3 hours until firm.

3) Preheat oven to 350 deg F. Grease or line baking sheets with parchment paper.

4) Roll out 1 piece of dough between sheets of parchment paper, 1/8 inch thick. Slide dough onto a large tray and freeze until firm enough to handle, about 10 minutes. Repeat with the remaining dough. (Use scraps of dough to make more cookies, rolling only once).

5) Cut out as many rounds as possible using a round cutter, reserving and chilling scraps. Quickly transfer cookies to prepared baking sheets 1/2 inch apart. Bake until slightly puffed, about 10-12 minutes. Cool on baking sheet for 5 minutes, then transfer to a cooling rack to cool completely before adding filling.

Filling
1/2 stick unsalted butter, at room temperature
1/4 cup shortening
2 cups confectioner's sugar, sifted
2 tsp. vanilla extract

1) Cream together butter and shortening at medium speed until combined and smooth. With the mixer on low, slowly add confectioner's sugar and vanilla extract. Increase the speed to high and continue beating for 2-3 minutes until the filling is light and fluffy.

2) Place filling in a piping bag and pipe a heaping tablespoon of filling (more if you like a lot of filling like me) on the flat side of cooled cookie. Top with another cookie and gently press together. Store in an airtight container at room temperature.

Sunday, August 21, 2011

Foody Field Trip - Old Town Pasadena


First off, I would like to wholeheartedly thank my good friend, V, for this awesome birthday gift she got hubby and me. Two gift certificates to a foodie field trip. How awesome is that??? I first heard of the concept of a food tour from one of my Facebook friends when she did her foodie field trip of Downtown Los Angeles. Its basically a walking tour to a few restaurants in the city and you get a sampling of their specialties. It typically lasts 3 1/2 hours and covers about a 3 mile radius of the city. What a great idea to sample dishes in restaurants you would probably be intimidated to go in to. This particular company, Foody Field Trips, tours 2 cities: Culver City and Pasadena (but I believe they'll be opening up a 3rd tour soon). There weren't that many restaurants on the Culver City tour that caught my eye. Pasadena is a city we often visit, but we never really venture out to different restaurants. So I decided on the Pasadena tour. Besides, I dread the drive to Culver City. Its the worst of the LA traffic.

With our daughter in tow, Hubby and I met up with our group of 6, bright and early at a corner just south of the hustle and bustle of Colorado Boulevard. Those familiar with the city of Pasadena know that Colorado Boulevard is where its all at. After checking in with our tour guide, we were given our complimentary bag and an itinerary for the day.

Our first stop was at Pappa Rich. Its a small bakery/coffee shop that specializes in specialty buns. This shop is the only one of its kind in California, and I believe its the only one in the country. Its a specialty in Korea, where they apparently have numerous branches because they're so popular. Lucky them. We were each given a half of this warm mocha bun. And it was amazing. It tastes like a mix of a soft, warm brioche bun, topped with a sweet, crunchy crust of mocha, with warm melted butter on its center. I thought to myself, "oh, I'm really gonna love this tour." This was a great start of what was yet to come.


After having our delicious bun, we took a short walk to our next stop, Chado Tea Room, to help wash it all down. We were informed by our tour guide that this branch was strategically built by the owner, away from the hustle and bustle of Colorado Boulevard to maintain the calm and quiet atmosphere that a tea room should have. We entered a cute little tea room decorated in lovely china. You can tell that they really try to preserve the quiet and elegance of a tea room. We were given a short presentation and a small sampling of their specialty teas. And then we were served with a sample of their scone with devonshire cream and apricot marmalade. Delicious.


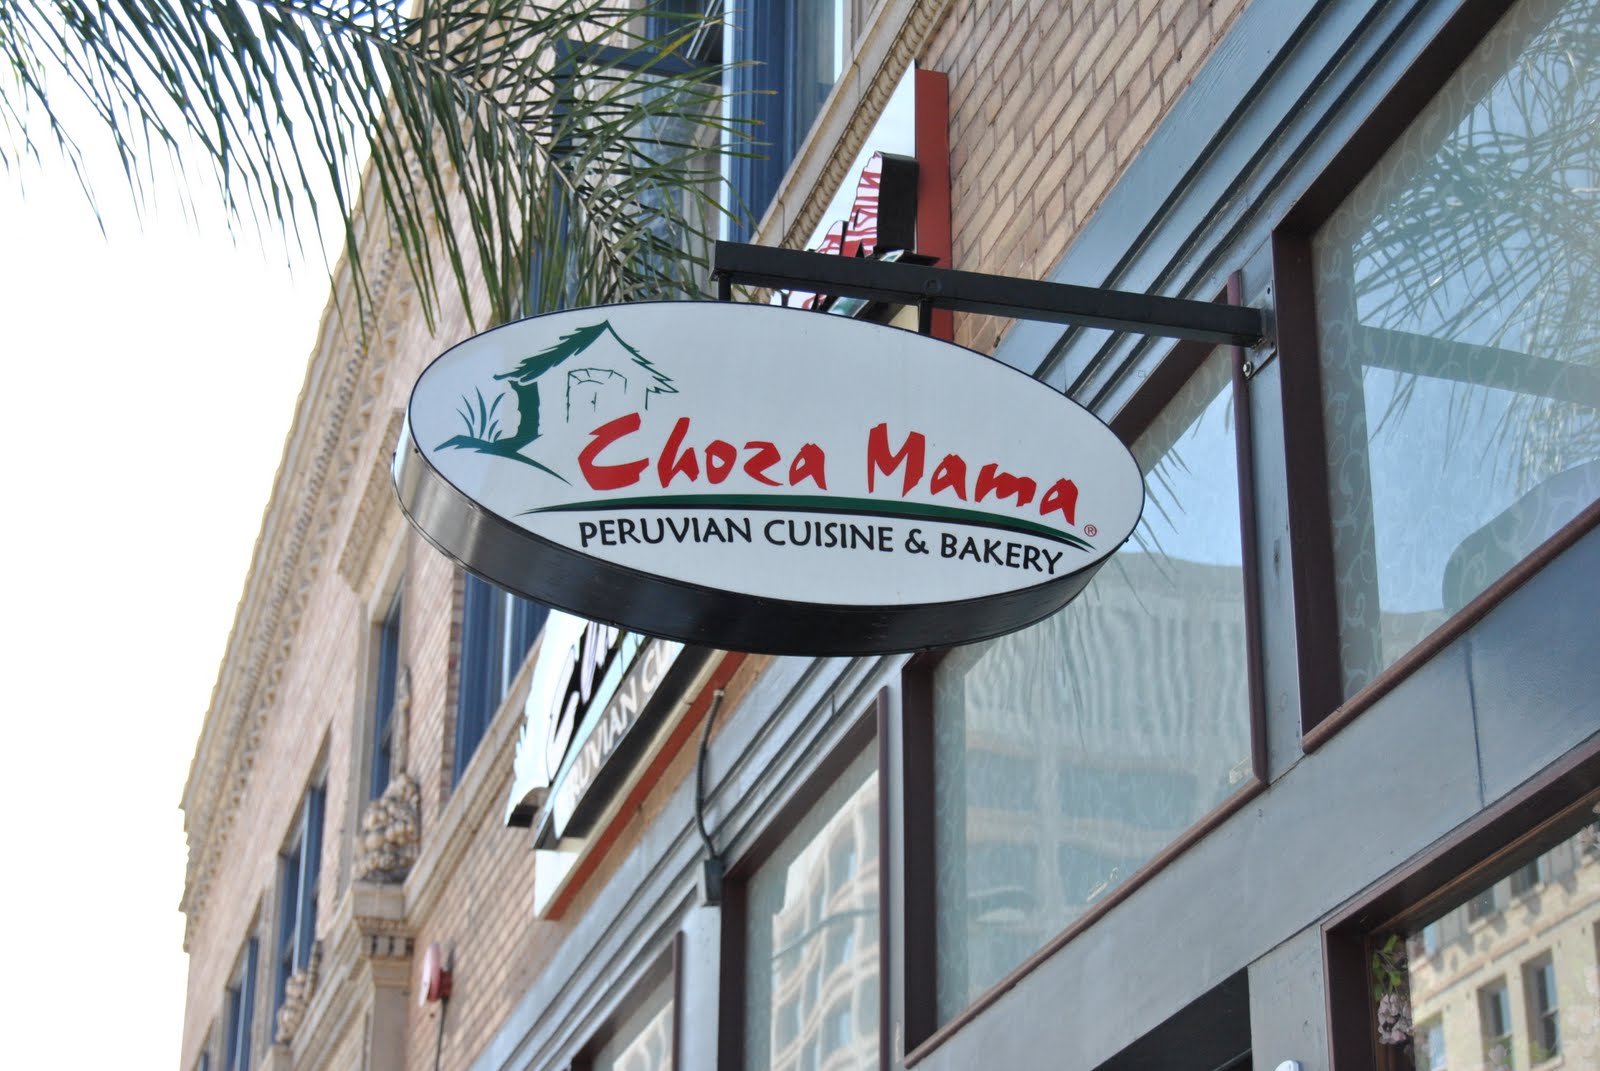
After our morning tea, we got down to the nitty gritty of this food tour. The real meal. We headed on over to Chozo Mama, a Peruvian restaurant and bakery. Chozo Mama is a family-owned restaurant which literally means "Mom's House," with the owners paying homage to their late mother who always dreamed of owning her own restaurant. Sadly, she was not able to see her dreams come to a reality, but her children made sure her dream would come true and started Chozo Mama.


As we entered the restaurant, we were welcomed by numerous Inca art pieces hanging on the wall. We were served with a small family-style meal that consisted of Seco de Cordero, Lechon Adobado, Peruvian Beans, and my new favorite, Aji de Gallina. This was all served with a side of rice and 3 of their signature sauces. I have only recently been into Peruvian food ever since I made my Lomo Saltado. Since then, I've been on a Peruvian food kick and I was so excited that it was part of our tour. Because we are definitely coming back to this restaurant. Hubby and I already decided :)


After the heavy sampling of Peruvian food, we lightened it up by heading over to a vegan restaurant, Green Earth Vegan Cuisine. I have to admit that this was not something I looked forward to. I mean, Vegan? Really? I just pictured everything to be green and taste-less. BUT, I was willing to give it a try. If I really am a foodie, I have to at least give it a try. So I came up to this cute little restaurant with an open mind and an open stomach. It also helped to know that this was a Vietnamese Vegan restaurant. I love Vietnamese food, so I was good. We were first served with the Vegan version of a spring roll (though I thought a spring roll was already vegan/vegetarian. But what do I know). It was pretty darn good and pretty darn close to a regular spring roll.


Our next course was a vegetable soup with eggplant, Japanese squash, mushroom, bell peppers and tofu. It was quite tasty, but I could do without the eggplant. Not a huge fan of eggplant. But the overall flavor of soup was quite pleasant. Not at all what I would expect from a vegan dish.


I'm glad this was part of our tour because it gave me a taste of what a vegan restaurant was really about and it helped to clear up my vision of what a vegan restaurant really is. Not always about being green and taste-less :)

Our next "big meal" stop was an Argentinian restaurant, 1810. Its aptly named after a date that commemorated a patriotic day in Buenos Aires, which has become and Argentinian holiday. I was so looking forward to this, because I so love Argentinian food. Give me the meat!

We started off our meal with their crusty bread and famous chimichurri sauce. My fave! It was served with a small sampling of their house Pinot Grigio. After we gobbled up the bread and chimichurri sauce (or should I say, my daughter gobbled up the bread), we were served with our next course of appetizer, the spinach and mascarpone cheese empanada. Yum! This was the best Argentinian empanada I've ever had. The crust had the perfect crunch and it was filled with their ooey-gooey spinach and cheese.


Paired with their house red wine, Argentinian Malbec, (which I didn't have because I had enough of the white wine. What a light-weight!), we were then served with their signature Entrana Skirt Steak with Argentinian salsa. Oh, I was in heaven. The meat was so tender and flavorful, and the salsa really complimented the meat well. I have to apologize for the photo below, however. The lighting was really low in the restaurant, so the picture came out a little blurry.


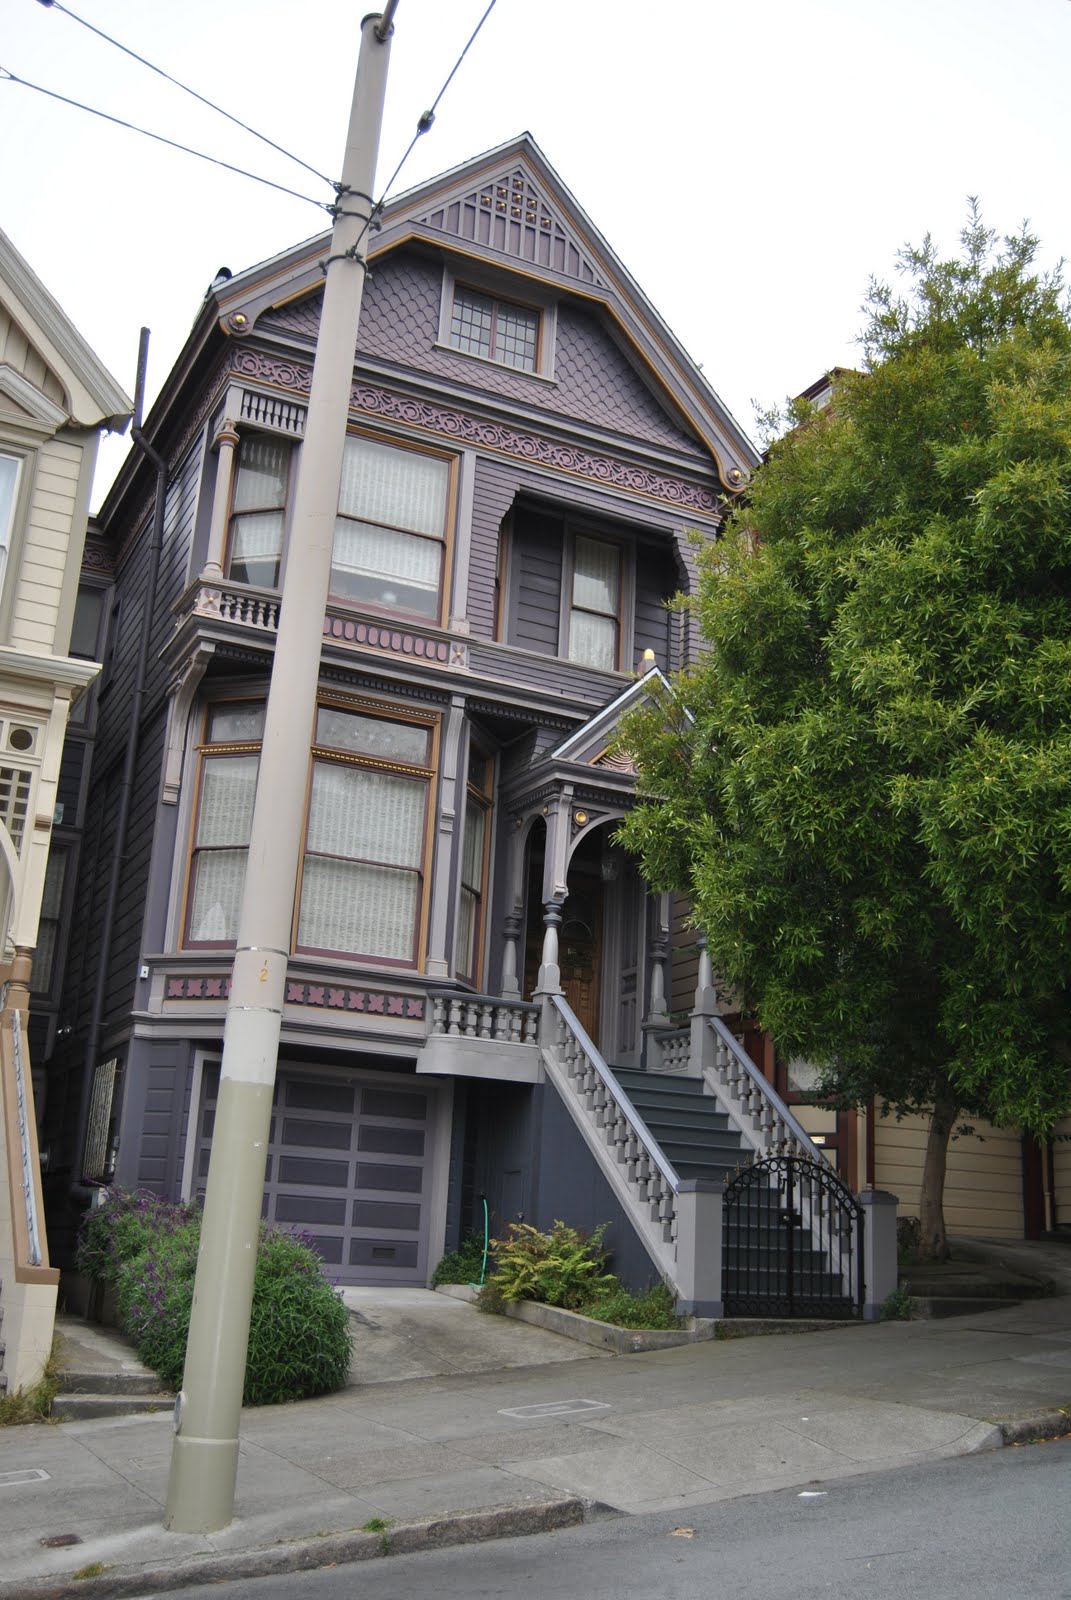
Before we headed to our final stop, we took a short-cut through alleys behind Colorado Boulevard to find some gems of the city. There is a rich history behind Old Town Pasadena that we were introduced to and we would never have known about had it not been for this tour. Our tour guide gave us little tidbits of history about some of the buildings we passed by.


And finally, our last stop. Dessert. Cupcakes. Enough said. You know me and my cupcakes. I was so excited. My daughter was excited too.


Sugar Fix had a cute story behind it. It all began when the owner was a young child, baking out of her Easy-Bake oven. My kind of girl.


I gave my daughter the honor of selecting my cupcake and she chose the Vanilla cupcake. I think it was because of the sprinkles. Hubby chose the Marble cupcake. Both were quite good, but nothing out of the ordinary. However, my daughter enjoyed the frosting, as she always does.


Our overall take of this tour was really pleasant. Not only did we get tidbits of the foods that Pasadena had to offer, we also learned about the rich history of Pasadena. Our tour guide was very energetic and very informative. We had loads of fun and look forward to more foodie field trips in other cities.

Friday, August 19, 2011

Grilled Peaches


One of my favorite summer desserts is not just ice cream, or cupcakes, or pies. Its a simple, fresh peach. Grilled. Its a super easy dessert that requires only 2 ingredients. Fresh peaches and sugar. I've waited all year long to finally be able to grill fresh, sweet peaches. And summer is the only time you get to have peaches at its prime. When selecting your peach to grill, you need to make sure they're slightly soft and over-riped to achieve optimum sweetness. Serve this with your favorite ice cream, but it goes best with vanilla ice cream. The warm peach goes so well with the cold ice cream. Grilled peaches with a side of ice cream is the quintessential summer dessert.

fresh peaches (slightly softened)
sugar

1) Cut peaches in half and remove the pit. Sprinkle 1-2 tablespoons of sugar on each half of the peach. Place peaches on a hot grill, cut-side up. Grill for about 5 minutes.

2) Carefully flip the peaches over to cook the sugar side. Grill for another 5 minutes, or until you get nice grill marks on your peaches. Serve immediately with ice cream.

Wednesday, August 17, 2011

Egg Drop Soup with Corn


Its been quite hot around our neck of the woods. So what in the world am I doing making soup??? I recently discovered that my daughter loves Egg Drop soup. She had an upset stomach one day and didn't feel like eating anything. But I had to feed her something. So she agreed to eat soup. I quickly whipped up this recipe after looking at a few different versions and she loved it. She kept asking for more. Today, I decided to eat something light for dinner and made this again, which she was excited to have.

6 cups chicken broth
1 1/2 tsp. salt
1/2 tsp. ground ginger
1 ear of corn, kernels removed (about 3/4 cup)
2 eggs
1 egg yolk
2 Tbsp. cornstarch
1 1/2 tsp. sesame oil

1) Set aside 3/4 cup of chicken broth. Place the remaining broth, salt, ground ginger and corn kernels in a medium saucepan over medium heat.

2) Scramble together the eggs and egg yolk in a small bowl. Once the broth begins to boil, pour scrambled egg in the broth with a steady stream while stirring the broth in one direction to create threads.

3) In another small bowl, thoroughly mix together the 3/4 cup chicken broth and cornstarch. Pour mixture into soup. Stir until incorporated. Remove soup from heat and add sesame oil. Serve hot.

Monday, August 15, 2011

No-bake Creamy Peanut Butter Pie


There's been a lot of buzz around the foodie blogosphere about this blogger, Jennie. You see, her husband suddenly died from a heart attack, leaving behind Jennie and their 2 daughters. Before her husband passed away, she had been meaning to make his favorite Creamy Peanut Butter Cream Pie but never got around to it. So she asked her readers and other fellow bloggers to make the recipe in his honor and to celebrate his life.

I wasn't a follower of Jennie's blog, but I found this touching story through The Brown Eyed Baker. It helped me reflect on my own life and reminded me to not take everything I have for granted. Little things hubby does that annoys me, or the little things that my daughter does that upsets me are all trivial and will eventually resolve themselves. But I only have one time with them, and that time is NOW. I need to always remind myself to enjoy my time with them, because tomorrow is always so uncertain.

There was a time when hubby and I thought we would never be able to start our own family. And when our little princess came into our lives, she was the best gift we could ever imagine. I made a promise to myself to always treasure this gift. I still hold on to that promise everyday. Jennie asked to make this recipe for someone we love, and "then hug them like there's no tomorrow because today is the only guarantee we can count on." Words we should always live by.

Crust
8 ounces Oreo cookies, crushed into fine crumbs
pinch of salt
4 Tbsp. unsalted butter melted
4 ounces semi sweet chocolate chips
1/2 cup heavy cream
1/4 cup chopped peanuts

Filling
1 cup heavy cream
8 ounces cream cheese, softened at room temperature
1 cup creamy peanut butter
1 cup confectioner's sugar
1 (14 oz) can sweetened condensed milk
1 tsp. vanilla extract
1 tsp. freshly squeezed lemon juice

Topping
1/3 cup semi-sweet chocolate chips
1 tsp. shortening

1) In a medium bowl, combine Oreo crumbs, salt and melted butter, tossing with a fork until evenly moistened. Press onto the bottom of a 10-inch spring-form pan (if using a 9-inch pan, spread the crust about 1 inch up the sides. Place in the freezer for 10 minutes.

2) While crust is in the freezer, place the 4 ounces of chocolate chips in a small bowl. Heat the 1/2 cup of heavy cream in a small saucepan and bring to a full boil. Pour heated cream over the chocolate chips and let sit for about a minute. Stir gently with a rubber spatula until completely smooth and glossy. Pour over the bottom of the crust, tilting the pan until it cover the entire bottom of the pan. Sprinkle with the chopped nuts and refrigerate while making the filling.

3) Using an electric mixer with a whisk attachment, whip the 1 cup heavy cream on medium-high speed until stiff peaks form. Transfer the whipped cream to a medium bowl and refrigerate until ready to use.

4) Using the electric mixer with the paddle attachment, cream together peanut butter and cream cheese on medium speed until light and fluffy. Reduce speed to low and gradually add the confectioner's sugar until completely incorporated, scraping down the sides. Add condensed milk, vanilla extract and lemon juice. Continue beating on medium speed until fully incorporated.

5) Using a rubber spatula, fold in about 1/3 of the whipped cream to lighten the mixture. Very gently, fold in the remaining whipped cream until no streaks of whipped cream remain. Pour filling onto prepared crust.

6) Place the remaining 1/3 cup of chocolate chips and shortening in a small bowl. Microwave in 30 second increments until completely melted and smooth, stirring after each 30 seconds. Drizzle melted chocolate over the pie filling. Refrigerate pie for 3 days to overnight before serving.

Thursday, August 11, 2011

Turkey Meatloaf Sandwich with Russian Dressing


I was searching through some recipes from Delish and came across this recipe that looked really good. I haven't made my Turkey Meatloaf in a while. And I have a couple of trays of ground turkey in the freezer that I needed to use up. And I've been craving for some meatloaf for a while. So I decided, enough justification! Its time to make some meatloaf. This sandwich was super yummy and super comforting. The Russian Dressing used as a condiment complimented the sandwich really well. I've always heard about making a sandwich out of leftover meatloaf and have been meaning to try it out. Leftover meatloaf happens often in our house, and I'm so glad to have found a great way to use them up.

Sandwich
French Baguettes
lettuce leaves or shredded lettuce

1) Prepare turkey meatloaf according to directions. Cool for about 10 minutes. Slice a french baguette in half and place a 1/4 - 1/2 inch thick slice of meatloaf. Top with Russian dressing and lettuce.

Russian Dressing
3/4 cup mayonnaise
3/4 plain yogurt
1/2 cup ketchup
2 Tbsp. cider vinegar
3/4 tsp. black pepper

1) Combine all ingredients in a small bowl. Cover and refrigerate until serving. Dressing can be kept in the refrigerator for up to 1 week.

Tuesday, August 9, 2011

Beef Short Ribs with Tortellini & Marsala Cream Sauce


Every week, especially after church, my parents would treat us all to lunch. Its become a tradition of ours ever since hubby and I got married. There are a handful of restaurants we frequent with them, one being the Olive Garden. Most often, I order their Braised Beef and Tortelloni. So I was excited to have found this recipe when I was looking for some new recipe ideas from The Little Kitchen through The Novice Chef.

This was her version of Olive Garden's dish. Its a pretty complex recipe, but I was glad to have tackled the challenge because it came out soooo good! I didn't have Tortelloni, so I substituted it with Tortellini, which is practically the same, and it came out great. This will definitely be a repeat recipe for me.

2 lbs. boneless short rib
salt & pepper
2 Tbsp. oil
2 cloves garlic, minced
1 medium onion, chopped
1 medium carrot, chopped
1 tsp. dried thyme
2 Tbsp. minced fresh basil
3 Tbsp. all purpose flour
2 cups Marsala wine
2 tsp. balsamic vinegar
2 cups chicken broth
14.5 oz can diced tomatoes, drained
2 bay leaves
2 Tbsp. oil
2 cups bella mushrooms, sliced
1/2 cup heavy cream
2 Roma tomatoes, diced
9 oz package refrigerated cheese tortellini, boiled according to package directions

1) In a large skillet or dutch oven, heat oil over medium-high heat. Season beef with salt and pepper. Brown beef on all sides, about 7-10 minutes.

2) Add garlic, onion, carrot, thyme and basil and cook until onions are translucent, about 4-6 minutes. Add flour and cook for 1 minute, stirring constantly.

3) Slowly whisk in Marsala wine and vinegar. Scrape the browned bits that have formed on the bottom of the pan. Reduce heat to medium and let simmer for about 5 minutes for the alcohol to evaporate. Stir in tomatoes and continue to cook for another 2-3 minutes.

4) Transfer beef and sauce into a slow cooker. Stir in broth and bay leaves. Cover and cook for 8-10 hours on low, or 4-6 hours on high.

5) Remove beef from the broth and transfer to a platter. Strain the braising liquid through a sieve. Discard the solids.

6) In a large skillet, heat remaining 2 Tbsp. oil over medium heat. Add mushrooms and cook for 4-5 minutes. Remove from skillet and set aside.

7) In the same skillet, add the strained braising liquid and return over medium heat. Simmer for 5 minutes. Add cooked mushrooms, diced tomatoes and heavy cream. Continue to cook for another 4-5 minutes. Toss with cooked tortellini. Serve topped with more diced tomatoes.

Monday, August 8, 2011

Banana-Cue


All of the Filipino dishes I make in this blog are reminiscent of my childhood days in the old country. This recipe is one of them. Banana-Cue is a street food often sold as an afternoon snack. I remember numerous stands of food vendors selling their specialties outside the gates of my elementary school, ready to sell their goodies to hungry students after a long day of school. Many of the food stands sold sweets, such as banana cue. My parents rarely allowed us to buy street food for sanitary reasons. They always feared that I would get sick by the way some vendors prepared their food. I guess that's one of the reasons I chose my career in food safety. But when we managed to convince my parents to buy us an afternoon snack, we were often treated to banana cue.

Filipinos have a strange way of naming their foods. Our Filipino barbecue is usually served on a stick. Therefore, everything else served on a stick always ended with a "cue." Hence the name "banana-cue." Its made of a saba banana that is only found in the Philippines. Saba is mainly a cooking banana and is one of the most important banana variety in Philippine cuisine. We're lucky enough to have an abundance of them in our local Filipino grocery store. And when I saw them during my recent trip to the Filipino store, I decided it was time to introduce this yummy snack to hubby and my daughter.

3 ripened saba banana (make sure its not over-riped), cut into 4 pieces
3/4 cups brown sugar
3 Tbsp. oil

1) Heat oil over medium-low heat. Add banana pieces and cook until they start to brown on all sides, about 3-5 minutes.

2) Stir in brown sugar. Continue cooking until sugar begins to melt, stirring occasionally. Once sugar has completely melted, continue stirring until all banana pieces have been coated with the sugar. Remove banana pieces and place on a plate lined with parchment or wax paper. Cool slightly, about 5 minutes. Serve threaded on a wooden skewer.

Wednesday, August 3, 2011

Mango Coconut Ice Cream


I'm ashamed to admit that I haven't taken full advantage of my ice cream machine this summer. It was National Ice Cream month last month and I only made one new recipe, Blueberry Pie Ice Cream. Although I have some great new recipes I've bookmarked. Then this recipe popped up on my reader last week from The Novice Chef.

One of my favorite new cheesecakes at the Cheesecake Factory is their Mango Key Lime Cheesecake, made with a coconut macaroon crust. Mmmmmm!!! I haven't lusted for a cheesecake from the Cheesecake Factory in a long time and when I had my first bite of this decadent dessert, I was hooked. The flavors blended together so well. This recipe reminded me so much of my new favorite cheesecake. I just had to make it.

The original recipe is a sorbet. But I decided to use the flavors of the original recipe and make it into an ice cream using elements from my Mango Kulfi recipe. It came out to be a rich and creamy, tropical flavored dessert that was so yummy. Love this one.

2 medium ripe mangoes, seeded and chopped
1 Tbsp. fresh lime juice
1/2 can light coconut milk
1 can sweetened condensed milk
2 cups heavy whipping cream
sweetened shredded coconut for garnish

1) Place mangoes, lime juice and coconut milk in a food processor or blender and puree until smooth. Set aside.

2) In a bowl of a electric stand mixer, whip heavy cream with a whisk attachment until it forms stiff peaks. Gently fold in condensed milk just until combined. Fold in coconut mango puree until well combined.

3) Place mixture in ice cream freezer container and freeze according to manufacturer's instructions. Place ice cream in an air-tight container and freeze for at least 6 hours or overnight. (*NOTE: You may need to freeze mixture into 2 batches). Top with shredded coconut when ready to serve.

Tuesday, August 2, 2011

Easy Fruit Dip


My sister-in-law had served this dip at one of our nephew's birthdays. She had mentioned that it was simply a mixture of cream cheese and marshmallow fluff. Then I was searching for recipe ideas from the Brown Eyed Baker and found this recipe. I had some strawberries that were starting to wilt, so I thought I'd eat them up before they all go bad and this dip would go well with them.

1 (8 oz) package cream cheese, softened
1 jar marshmallow fluff

1) In a medium bowl, stir together cream cheese and marshmallow fluff until well combined. Serve with your favorite fruit.